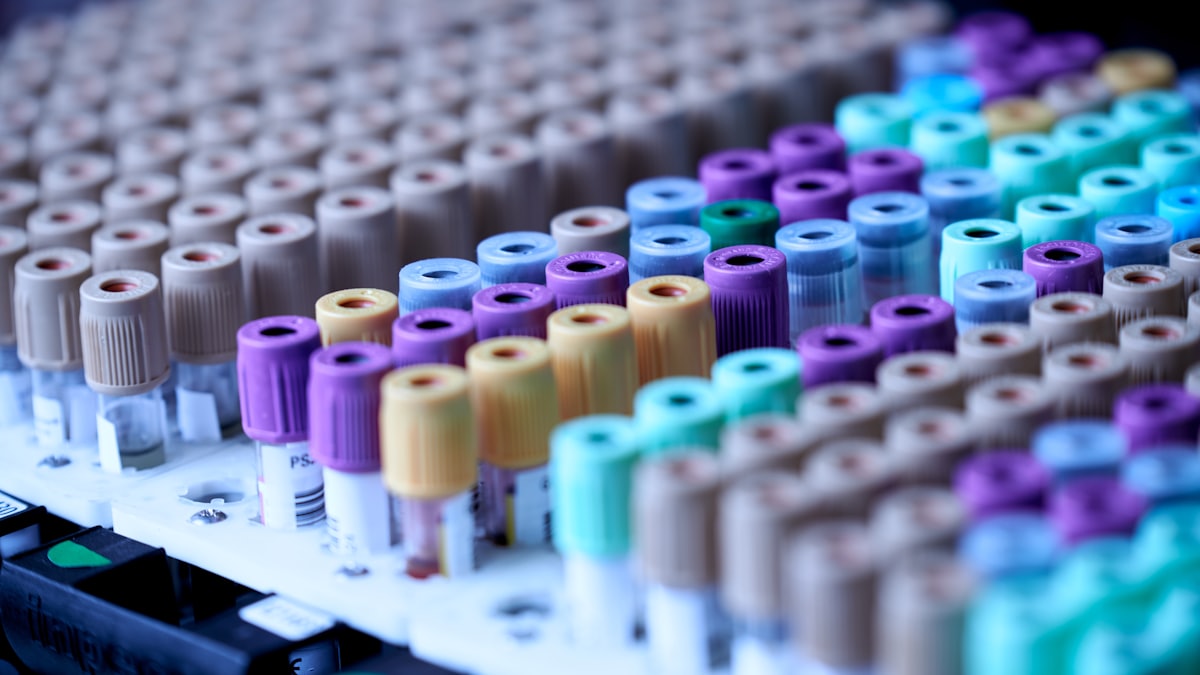
The Workflow, End to End
1. Registration and order entry. The patient is registered once; tests are chosen from panels so nothing is missed. The referring doctor is recorded for the report and for referral analytics.
2. Collection and labelling. Barcodes are printed and applied at the point of draw, in front of the patient. This is the single most important error-prevention step: the tube is now tied to the patient, not to handwriting on a lid.
3. Accessioning. Samples are scanned in. Haemolysed, clotted or under-filled samples are rejected here, with a reason logged, so a bad sample never reaches the analyzer.
4. Processing and results. Analyzers send results straight into the system. Manual tests are entered against the barcode. Reference ranges apply by age and sex automatically.
5. Verification. Normal results within defined rules can auto-release. Abnormal and critical values stop for pathologist review. Critical values trigger an immediate alert to the ordering doctor.
6. Reporting and delivery. A clean, branded report is generated and delivered by portal, WhatsApp or print, with a delivery log.
Where the Delays Hide
- Waiting to batch samples before sending to the lab.
- Manual result typing and re-checking.
- Reports stuck awaiting a signature because the pathologist has no worklist.
- Re-collection because a rejection was noticed late.
A TAT dashboard that shows time spent at each stage tells you which one is yours.
The Checks That Protect Patients
- Barcode at collection, scanned at every handoff.
- Rejection criteria enforced at accessioning.
- Delta checks that flag a result wildly different from the patient's last.
- Amendment history, so a corrected report shows what changed and why.